Step-by-Step Tutorial for Perfect Winged Eyeliner
When it comes to achieving the perfect winged eyeliner, using pencil shadows can make a world of difference. This step-by-step tutorial will guide you through the process of creating a flawless winged eyeliner look using pencil shadows. First, sharpen your pencil shadows to ensure precise application. Next, gently line your upper lash line, gradually building the thickness and shape of your wing. Remember to take your time and use small, light strokes for best results. To perfect the winged shape, use the edge of a makeup card or a thin brush to create a clean, sharp line. For more tips and tricks on mastering the art of eyeliner application, visit pencil shadows.
Step-by-Step Tutorial for Perfect Winged Eyeliner
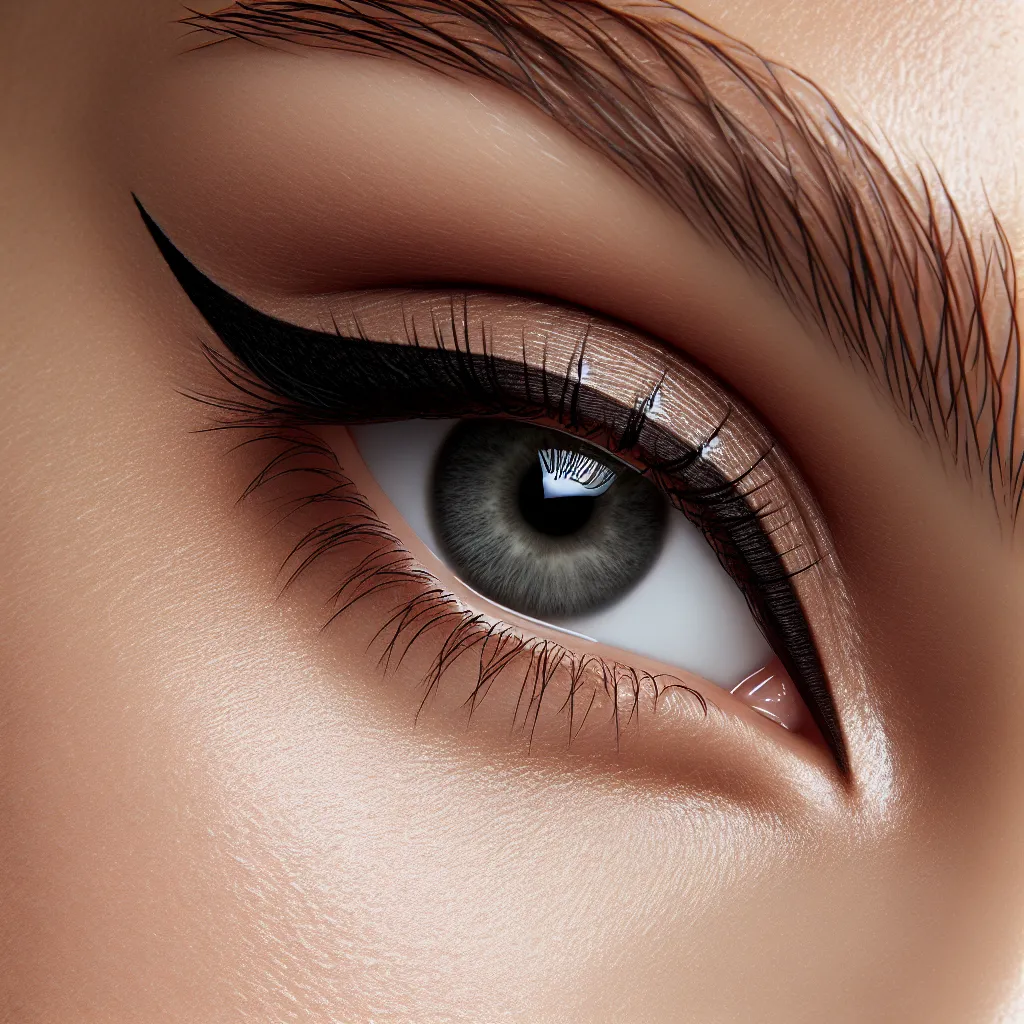
Mastering the perfect winged eyeliner can be a game-changer for your makeup routine. Achieving the elusive winged look requires precision, practice, and the right technique. With this step-by-step tutorial, you’ll be able to apply winged eyeliner like a pro in no time.
Step 1: Start by drawing a thin line along your upper lash line, extending it slightly beyond the outer corner of your eye. This will act as a guide for the wing and help create a symmetrical shape on both eyes.
Step 2: Next, create the wing by drawing a diagonal line from the outer corner of your eye towards the end of your eyebrow. The angle of the wing is up to personal preference, but a 45-degree angle generally complements most eye shapes.
Step 3: Connect the outer end of the wing to the upper lash line, forming a triangle. Fill in the triangle, ensuring a smooth and seamless transition from the wing to the rest of the eyeliner.
Step 4: Once the wing is complete, go back and perfect the line along the upper lash line, making sure it is smooth and even in thickness from the inner to the outer corner.
Step 5: If needed, clean up any edges or unevenness with a small amount of makeup remover on a angled brush for a precise and sharp wing.
With practice, patience, and the techniques outlined in this step-by-step tutorial, you’ll soon be applying winged eyeliner like a seasoned pro, elevating your makeup game to new heights.
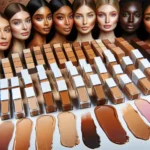
Types of Eyeliner and How to Choose the Right One
When it comes to applying eyeliner like a pro, choosing the right type of eyeliner is crucial for achieving the perfect look. There are several types of eyeliners available on the market, each offering different effects and application techniques. Let’s explore the various types of eyeliners and learn how to choose the right one for your desired look.
Liquid eyeliner is known for its intense and precise application, making it ideal for creating sharp and defined lines. It usually comes with a fine-tipped brush or applicator, allowing for intricate designs and winged looks. If you’re aiming for dramatic and bold eye makeup, liquid eyeliner is your go-to choice. However, it requires a steady hand and some practice to master the application technique.
Pencil eyeliner is a versatile option that is easy to use and perfect for creating both subtle and smoky eye looks. It offers a soft and blendable texture, making it great for smudging along the lash line or waterline. Pencil eyeliners also come in a variety of colors, providing flexibility for different makeup looks.
Gel eyeliner combines the precision of liquid eyeliner with the smooth application of a pencil. It is often applied with a brush, allowing for controlled and seamless lines. Gel eyeliner is long-lasting and resistant to smudging, making it an excellent choice for creating winged eyeliner or intricate designs. It is favored by many makeup artists for its versatility and staying power.
When choosing the right eyeliner, consider the look you want to achieve and your level of comfort with application techniques. If you’re new to eyeliner or prefer a softer look, opt for a pencil eyeliner. For those seeking precision and drama, liquid eyeliner is the way to go. Gel eyeliner is perfect for those who want a balance between precision and ease of application.
Understanding the differences between these types of eyeliners will help you make an informed decision and master the art of applying eyeliner like a pro. Experiment with different types to find the perfect fit for your unique style and makeup preferences.
Common Eyeliner Mistakes and How to Avoid Them
When it comes to applying eyeliner, there are common mistakes that many people make, but fear not! With a few tips and tricks, you can avoid these pitfalls and master the art of eyeliner application. One of the most common mistakes is applying eyeliner too thickly. This can make your eyes appear smaller and overwhelm your look. To avoid this, start with a thin line and gradually build up the thickness if desired. Additionally, using the wrong type of eyeliner for your desired look can also lead to mistakes. For a smudged, smokey look, a pencil or gel liner works best, whereas a liquid liner is ideal for creating sharp, precise lines. Another mistake to watch out for is not using the right technique for your eye shape. It’s essential to tailor your eyeliner application to complement your specific eye shape, whether it’s almond, hooded, or round. Lastly, failing to properly prep and prime your eyelids can cause your eyeliner to smudge and fade throughout the day. By using an eyeshadow primer and setting your eyeliner with a matching eyeshadow, you can ensure long-lasting wear. By steering clear of these common mistakes and following the appropriate techniques, you’ll be on your way to applying eyeliner like a pro in no time.
Tips and Tricks for Smudge-Proof Eyeliner Application
When it comes to applying eyeliner like a pro, achieving a smudge-proof look can be a game-changer. Whether you prefer a sleek cat eye or a subtle line, these tips and tricks will help you master the art of smudge-proof eyeliner application.
First and foremost, choosing the right eyeliner formula is crucial. Opt for a waterproof or long-wear eyeliner to ensure it stays put throughout the day. Gel and liquid eyeliners tend to have better staying power compared to pencil eyeliners.
Prepping the eyelid is another key step in achieving smudge-proof eyeliner. Applying an eyeshadow primer or a thin layer of concealer can create a smooth base and prevent the eyeliner from smudging or transferring onto the eyelid.
When applying the eyeliner, take your time and work in small, short strokes to create a precise line. Start from the inner corner and gradually build the intensity towards the outer corner. If you make a mistake, don’t fret! A cotton swab dipped in makeup remover can quickly erase any errors without disrupting the rest of your eye makeup.
To set your eyeliner and prevent smudging, consider using a matching eyeshadow to go over the eyeliner. Using an angled brush, gently press the eyeshadow onto the eyeliner to lock it in place.
For an extra layer of protection, finish off your eyeliner application with a setting spray specifically designed for the eyes. This will help seal the eyeliner and ensure it stays put for hours on end.
By following these tips and tricks, you can elevate your eyeliner game and enjoy a smudge-proof look that lasts all day. Experiment with different techniques and products to find the perfect combination that works for you, and embrace the confidence that comes with flawlessly applied eyeliner.